Firebase Cloud Messaging (FCM)설정하기
Amazon Pinpoint는 push notification을 보내기 위해 Firebase Cloud Messaging (FCM) 을 사용합니다. 이를 위해 firebase project를 생성해야 합니다.
https://console.firebase.google.com/ 페이지로 이동합니다.
만약 Google계정을 없거나 sign out되어 있다면 sign in 하십시요
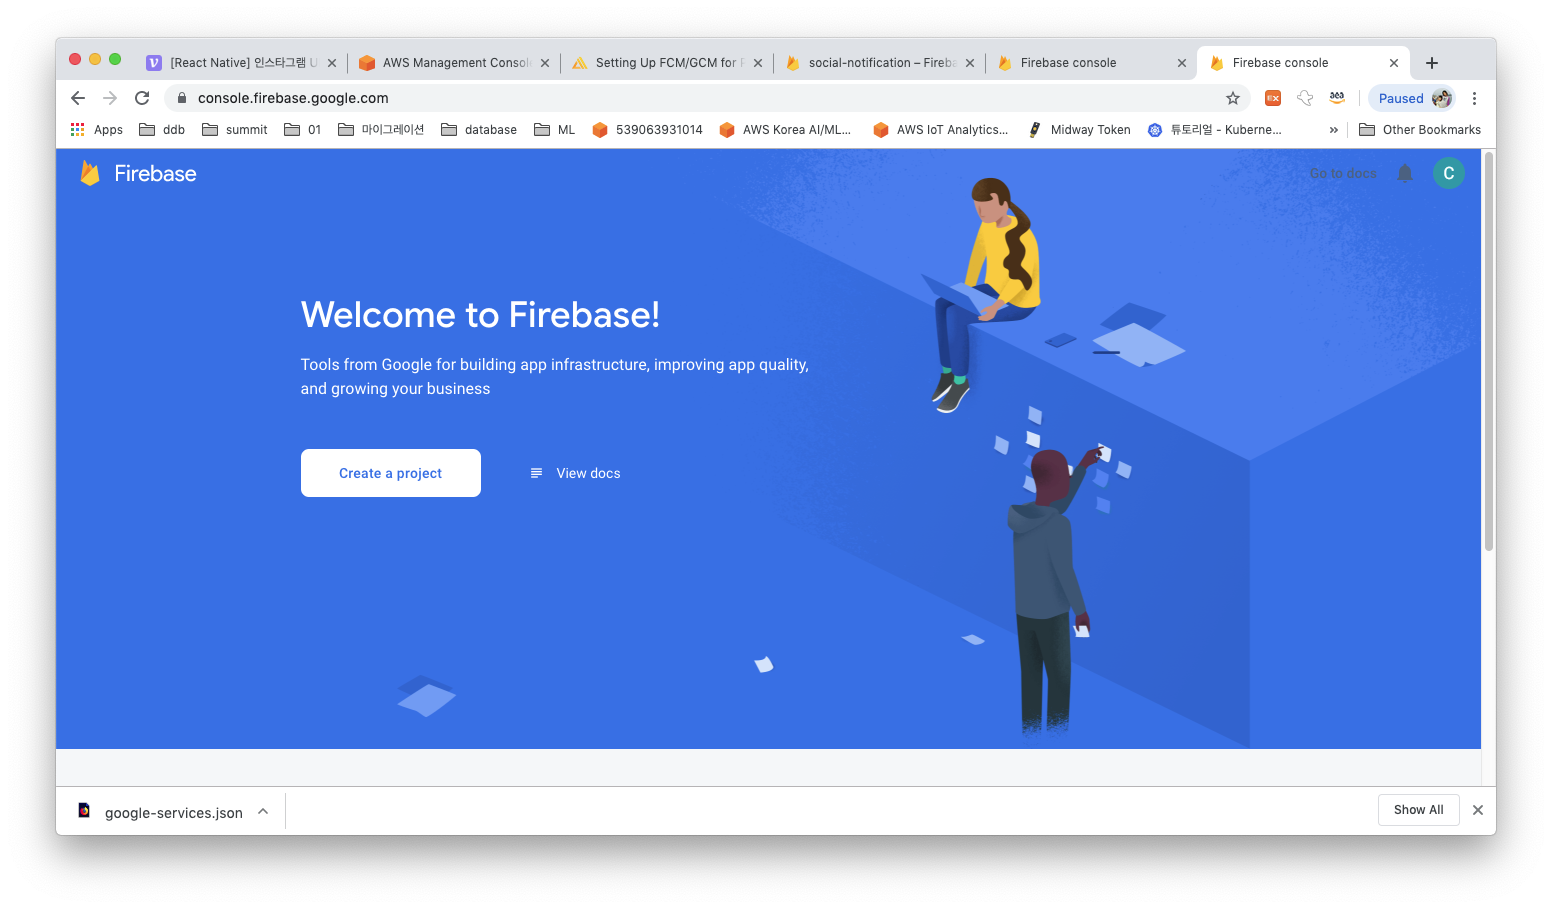
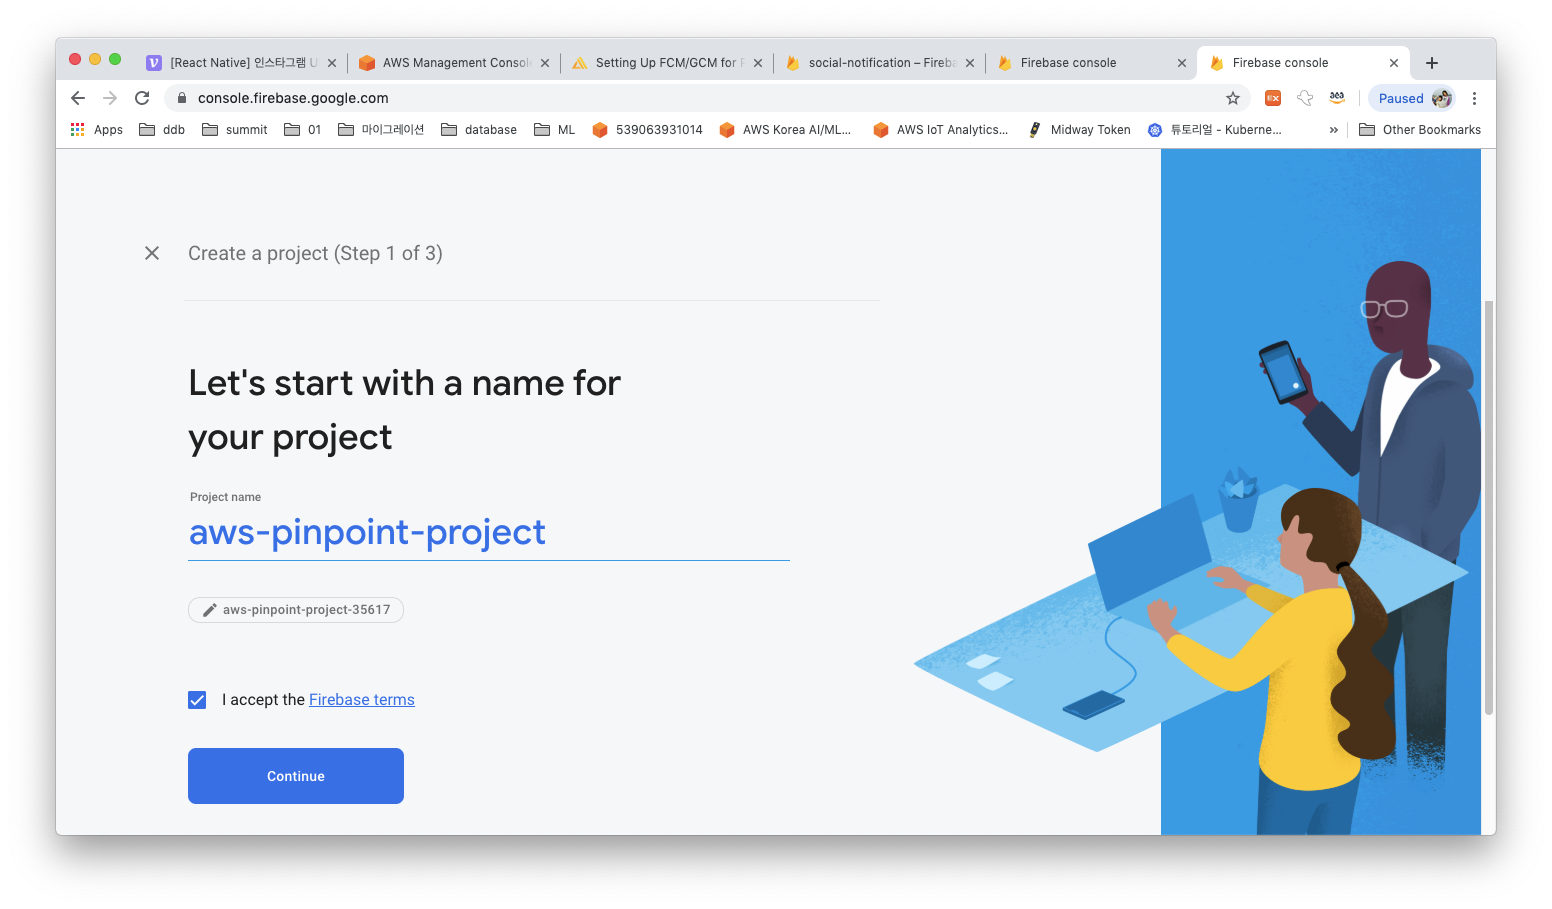
Create a project 를 선택하십시요. 프로젝트 이름을 넣으시고 계속 을 눌러 다음단계로 이동합니다.
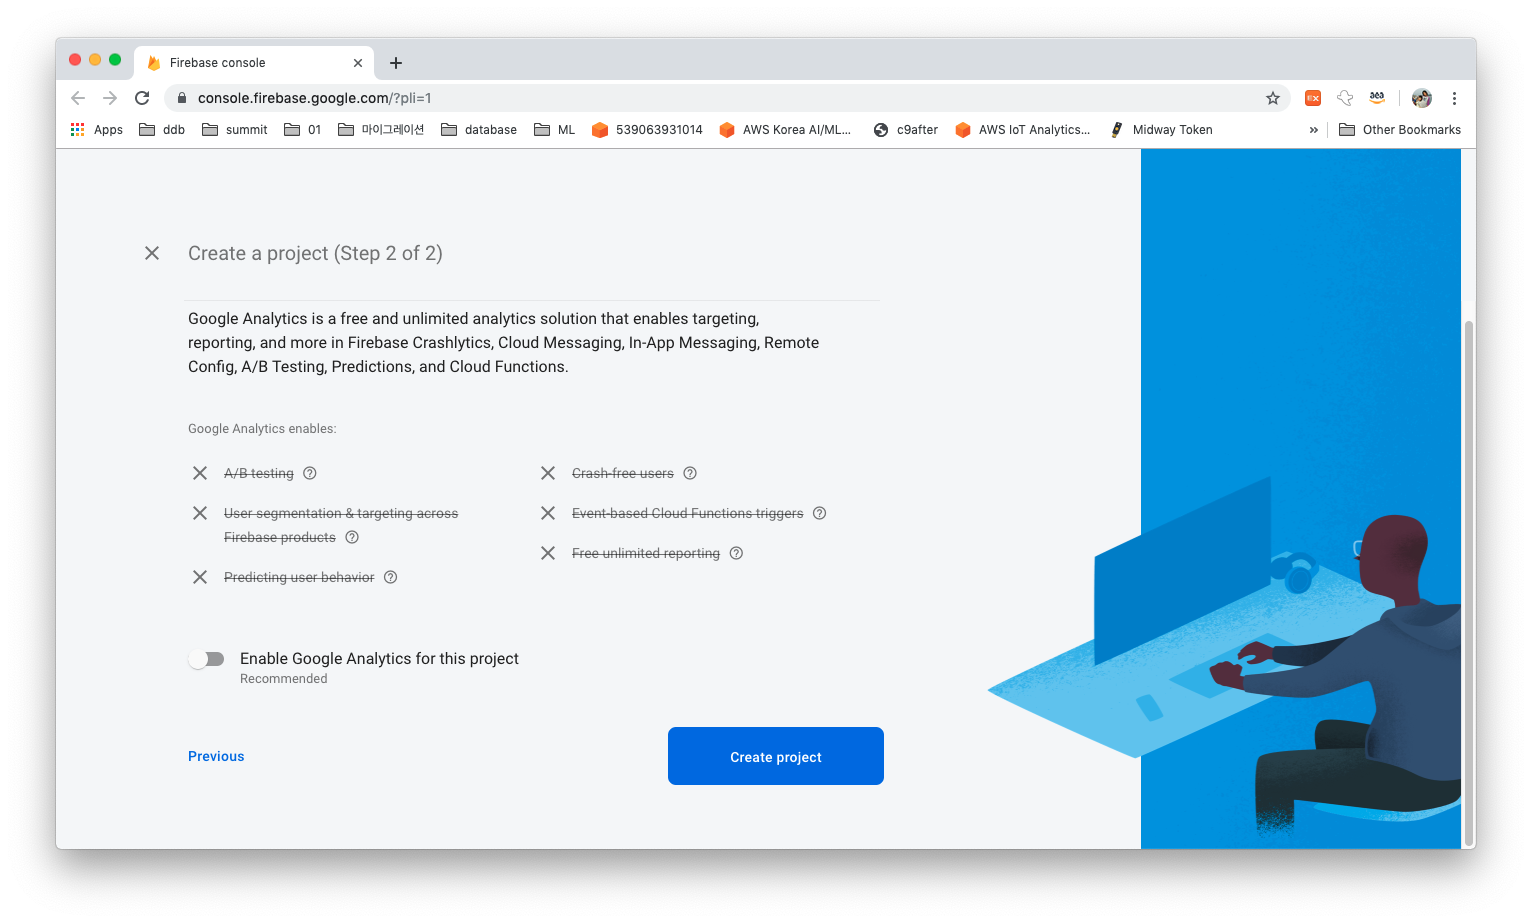
본 워크샵은 FCM을 push message 용도로만 사용할 예정이기 때문에 Emable Google Analytics for this project 를 disable하고 다음단계로 이동합니다.
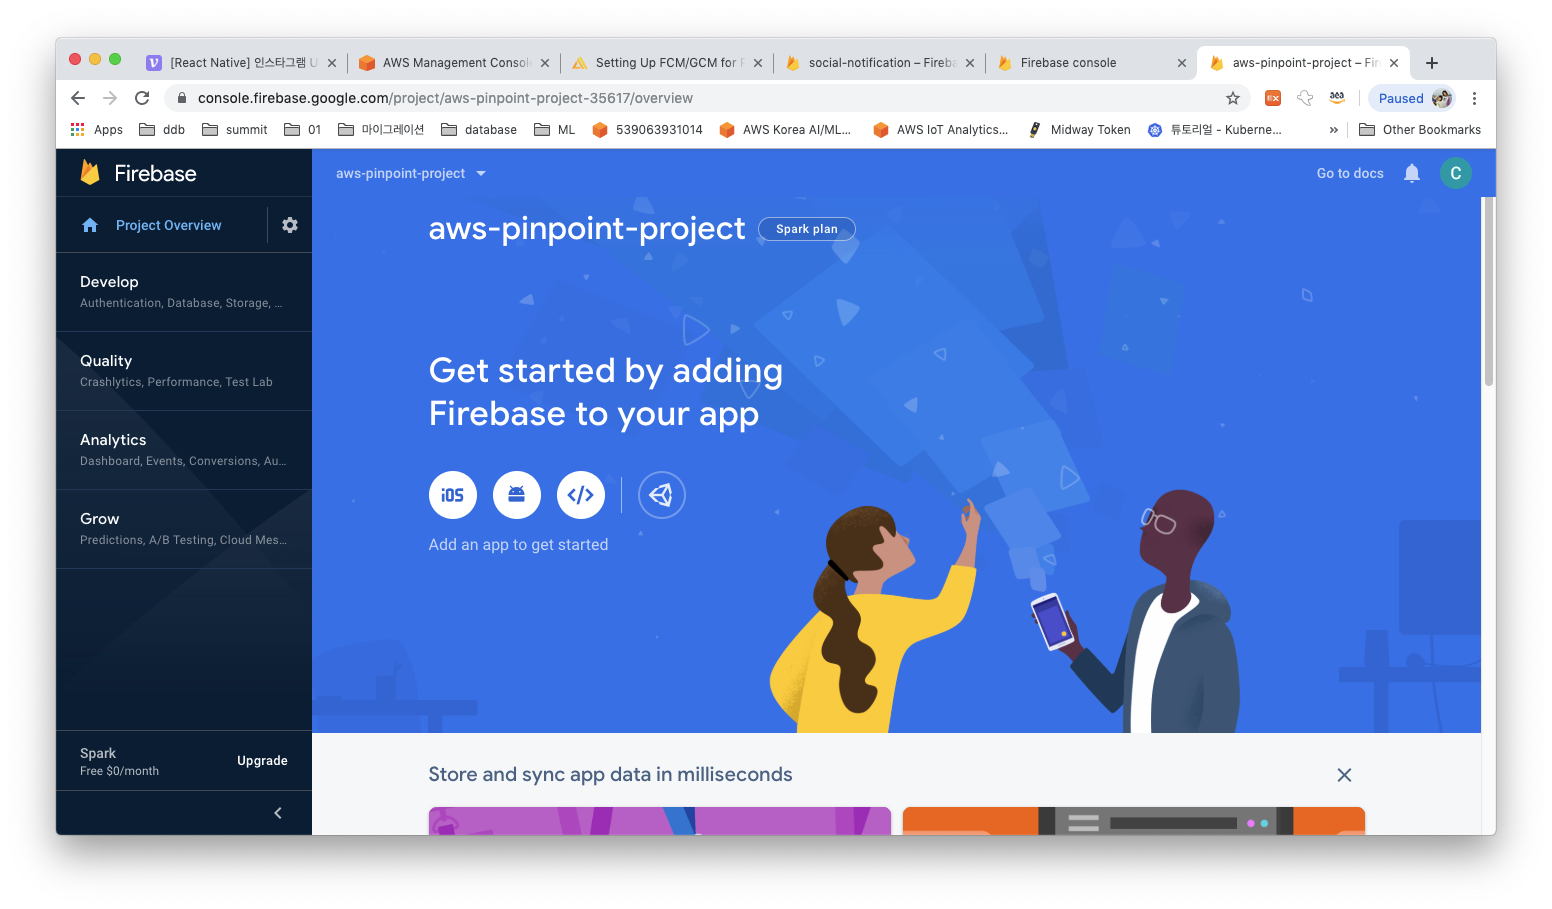
project가 생성되면 아래와 같은 화면이 보이게 됩니다. 왼쪽 상단에 설정 아이콘인 톱니바퀴 모양의 아이콘을 선택하고 Project settings 를 선택합니다.
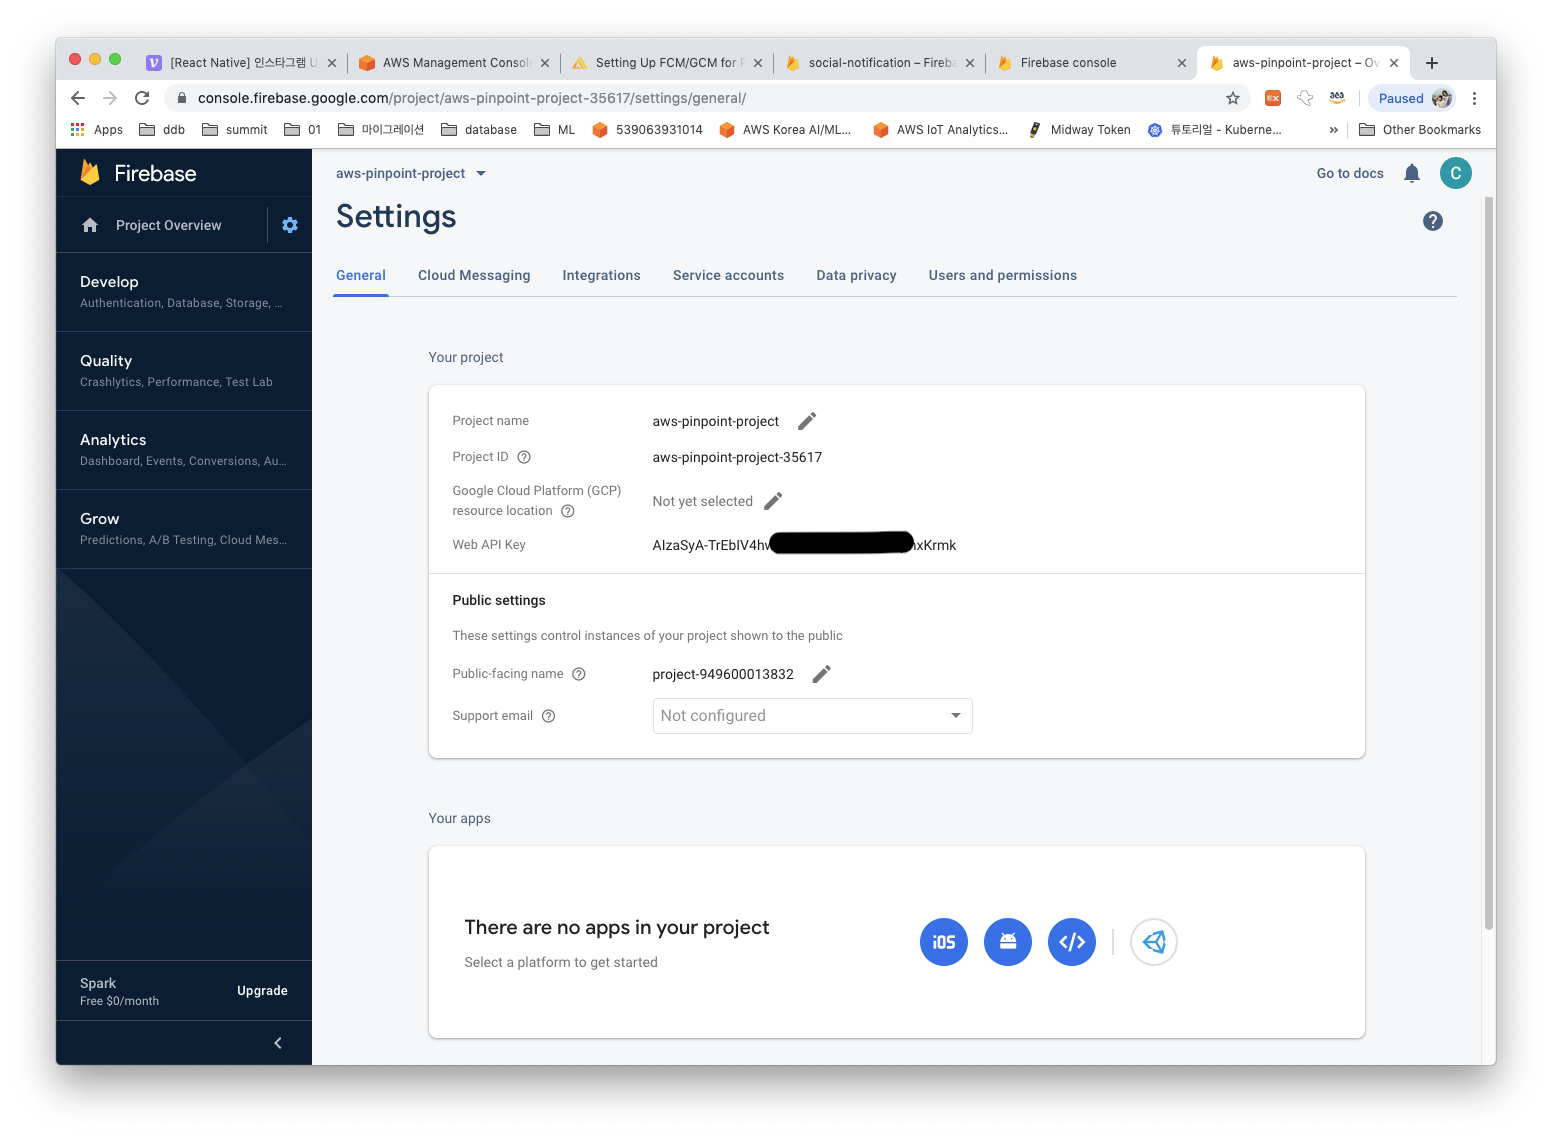
General 탭에 아래부분에 Your apps 가 있습니다. 안드로이드 모양의 아이콘을 선택합니다.
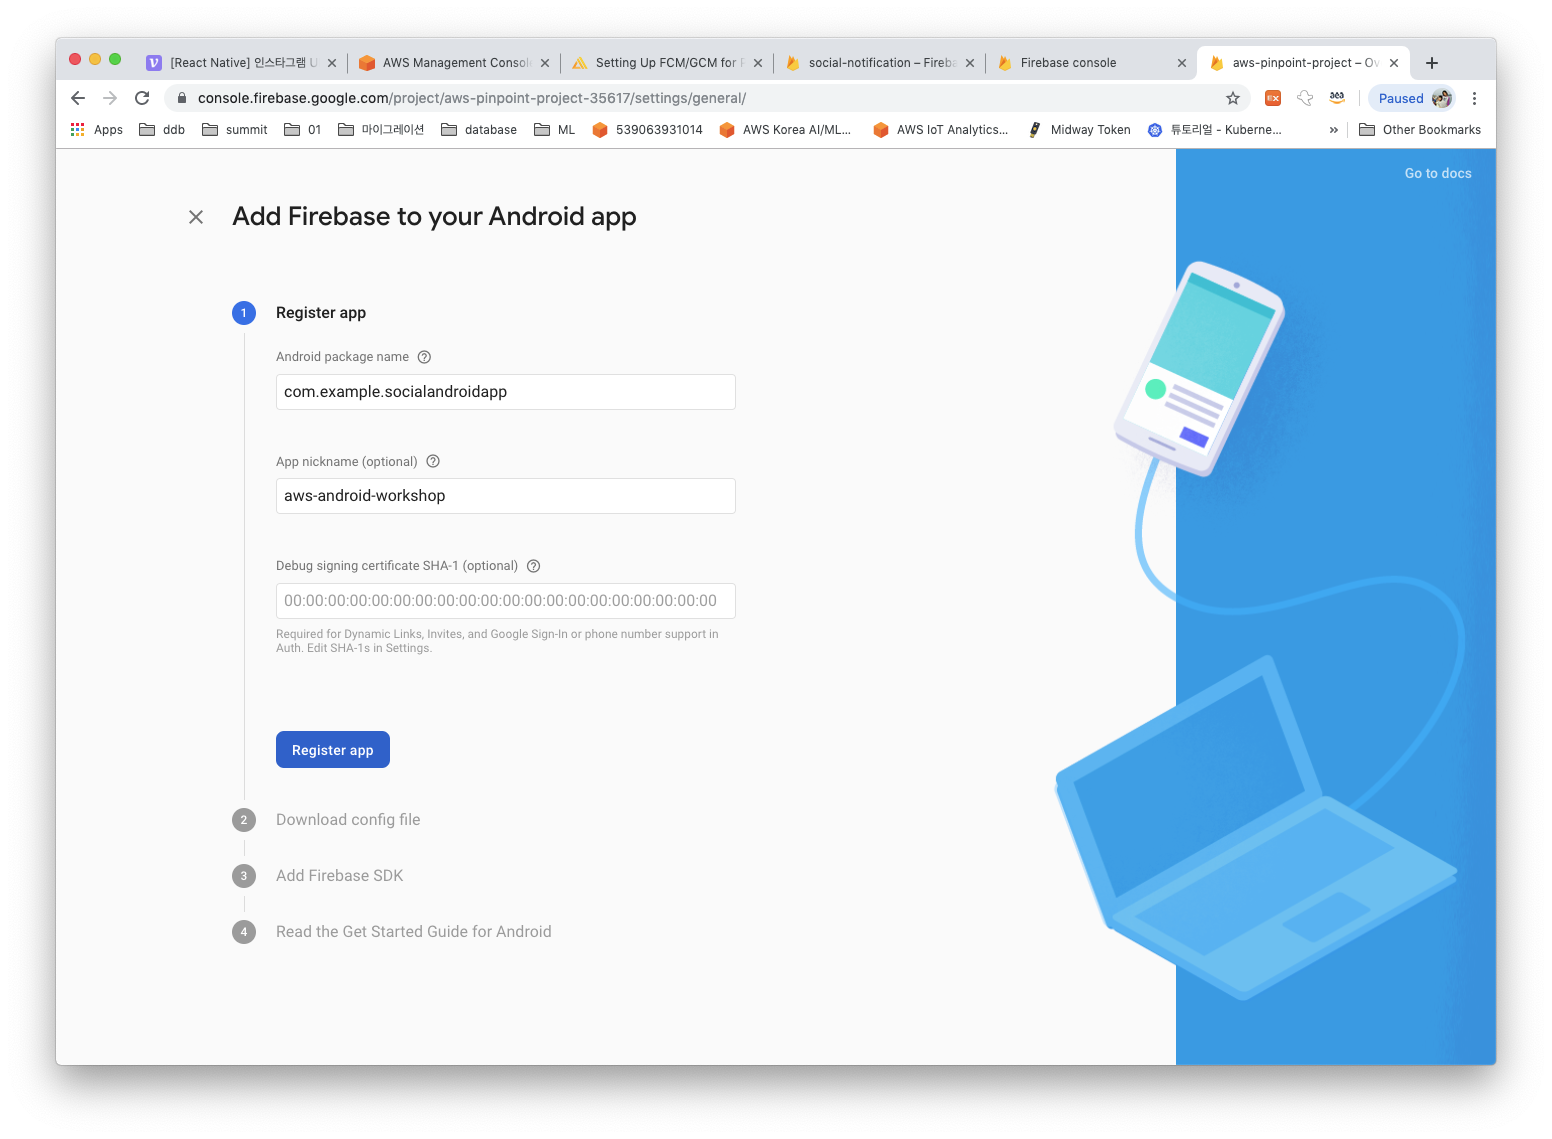
Package name(com.example.socialandroidapp)과 nickname(aws-android-workshop)을 각각 아래와 같이 입력합니다. Register app 버튼을 눌러 다음단계로 이동합니다.
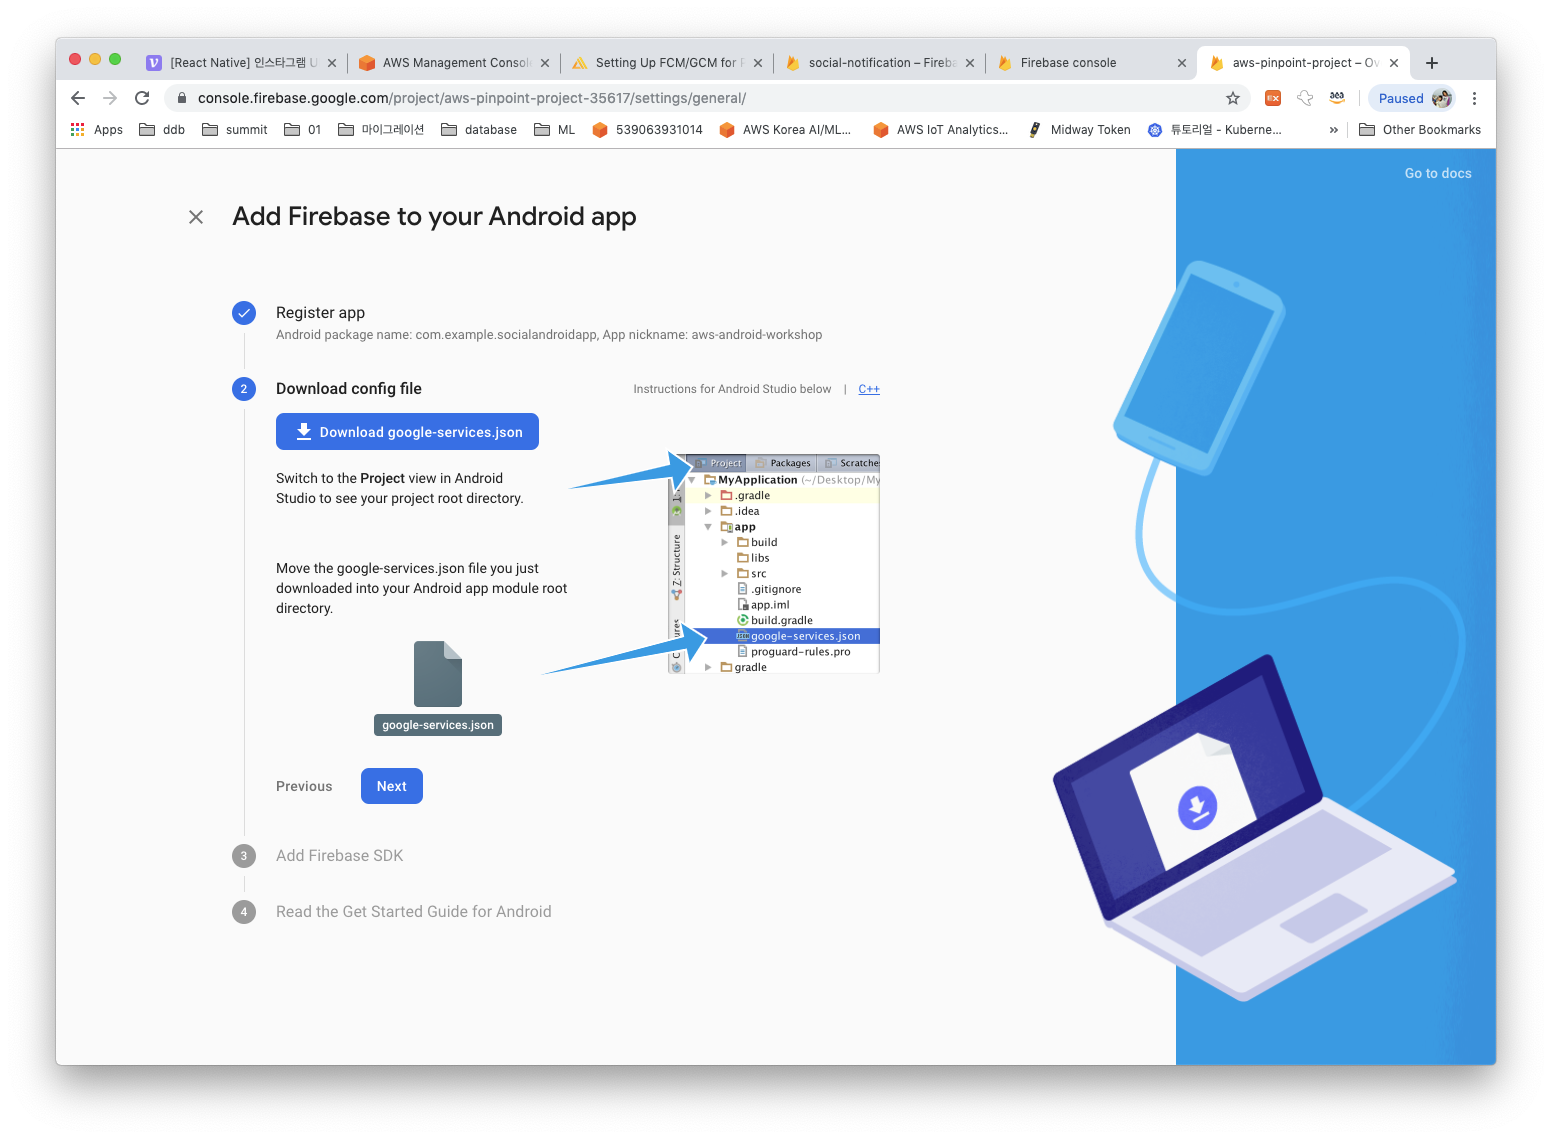
화면에 보이는 Download 버튼을 통해 json 파일을 그림을 참고하여 해당 경로에 download합니다.
이후 모두 default로 선택 하신 후 완료합니다.
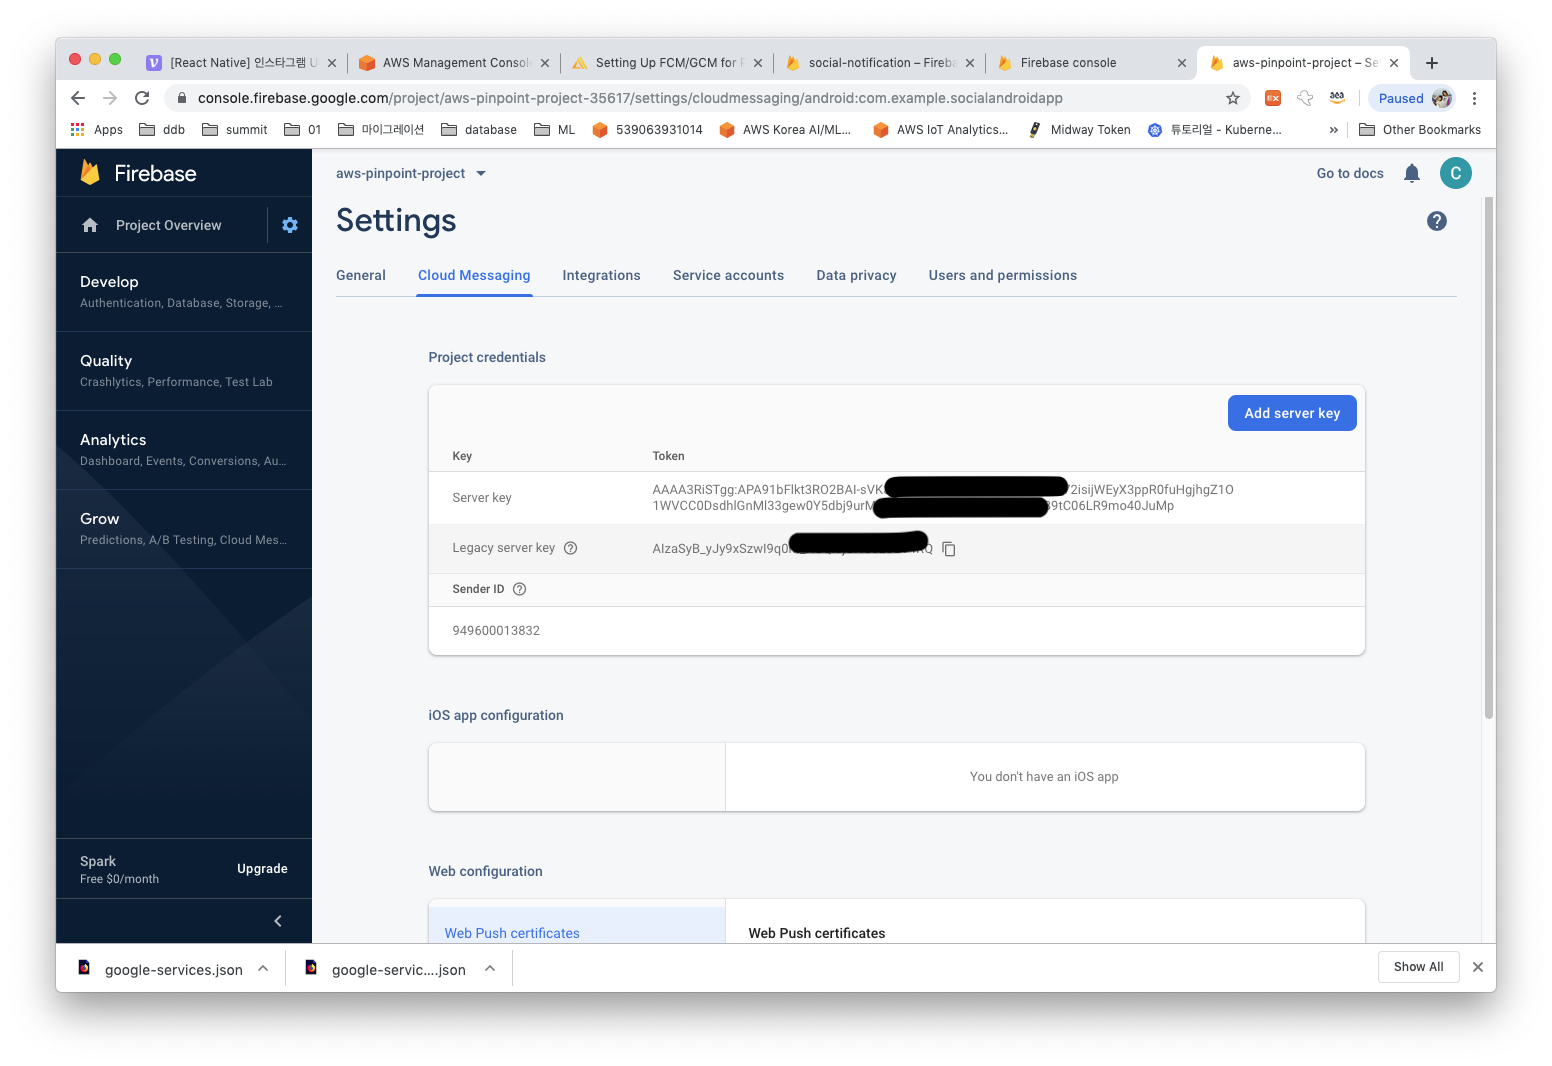
Settings로 돌아와서 두번째 탭인 Cloud Messaging 을 선택합니다.
Server key 에 해당하는 값을 복사 하십시요. 다음 장에서 필요합니다.
